How to make Sanity Studio your own
What is Sanity Studio?
Sanity.io is a powerful Headless CMS that ships with Sanity Studio.
[To learn more about Sanity, check out our interview with Head of Developer Relations, Knut Melvær.]
Why Sanity Studio?
For a recent project, Sanity was selected to power the backend, and I was tasked with the set-up, with the intention of the client using the Studio to manage the content on their website.
As time went on we required more features from the Studio, thankfully, due to the flexibility and customisability of Sanity no blockers got in the way and the Studio proved capable for our every requirement.
There are many different elements of the Studio that can be easily changed by overriding the corresponding CSS property using "parts" in the sanity.json config.
Customisation can be taken further by utilising Sanity’s Structure Builder, which allows for almost infinite possibilities.
To show some of this off to you, I’ve set up a fresh Sanity project based around "Shwick" - a fictional online store.
Customising Sanity Studio

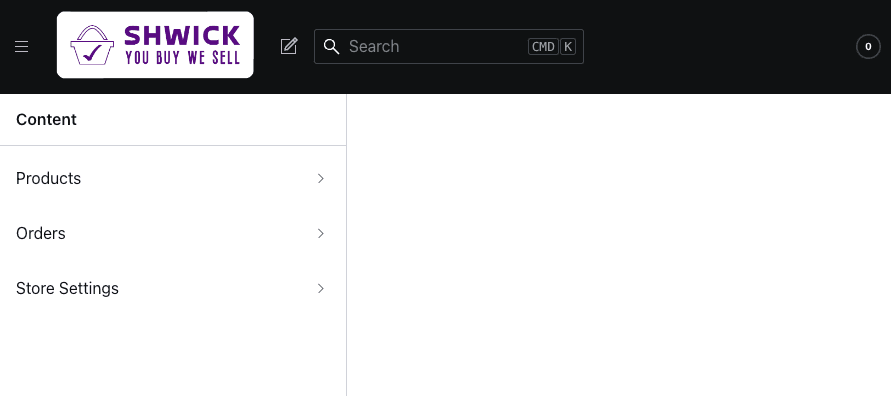
At the moment, Shwick’s Sanity instance is pretty basic. I’d like to style the Studio to match the company branding and customise the structure to be more accessible, which I’ll do in stages.
Shwick has a basic colour pallet of…
Primary: #590D82
Secondary: #FFFFFF
Adding a custom Logo
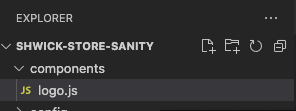
First, create a folder in the project tree. I’m just using components.
Now create a new component and call it "logo" or whatever you like.
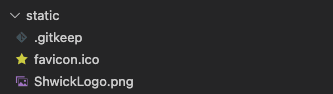
Then add the logo image to the static folder in your project root directory.
Inside the new logo component, construct a basic function that returns the logo image. I’m using a PNG here but you can use any normal image type as this is a React Component.
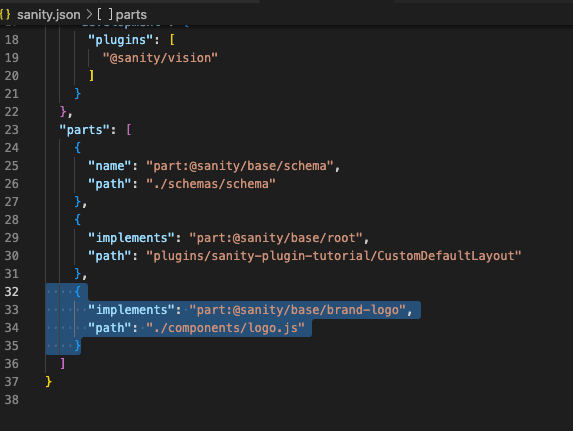
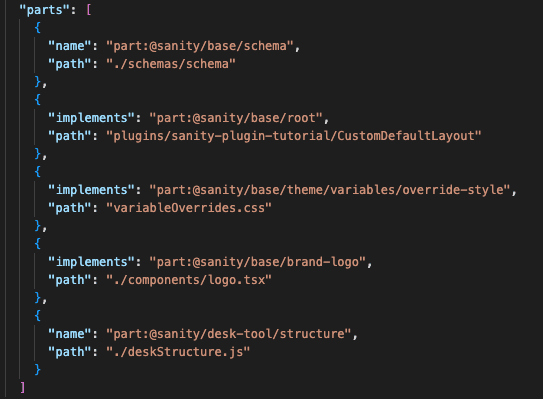
Inside your sanity.json config file in the root of your project, we now need to add the "part" override to the parts array.
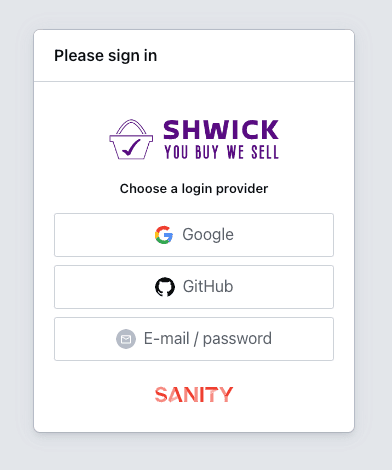
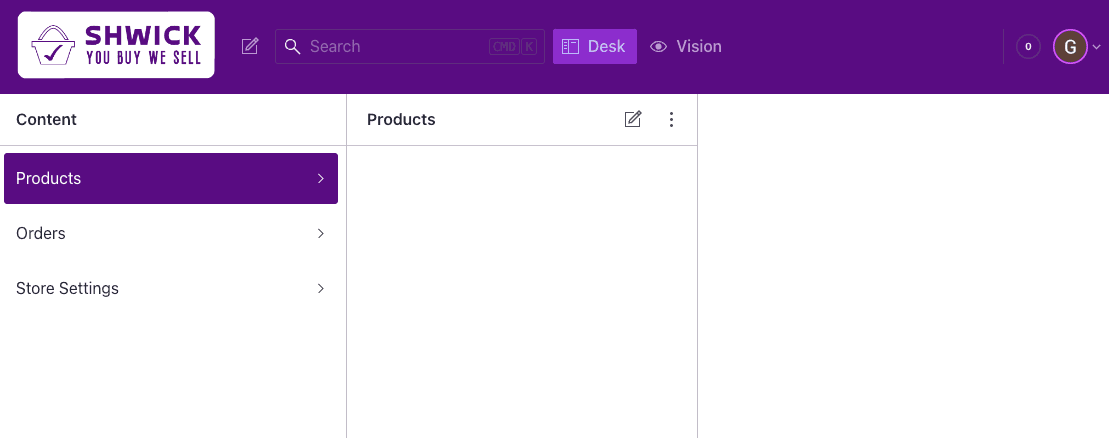
Now, back in my Studio, we can see the Shwick logo has been applied!
To get the best fit and sizing, play around with the styles that you applied to the <img> in the logo component.
The new logo is also visible on the sign-in page. Small changes like this make your Studio feel more professional, as it blends seamlessly with the rest of your company's styling.
Changing the Studio Style
Next, let's customise the colour scheme to match the Shwick colour pallet.
Firstly, create a file in the root of the project and call it variableOverrides.css
Now, inside this new file, we can declare the variables we want to override. (For a complete list of variables please see the link here)
To begin with, I’ve added my brand's primary and secondary colours and changed the Navbar colour.
Now, add the override file to the sanity.json config "parts" array and restart your Studio in your console.
And there we have it! With a few tweaks, the Studio is looking great. Don’t forget this is only a minor change; there are a plethora of overrides available for your styling pleasure here.
Sanity Structure Builder API
With the structure builder, we can really take Shwick to the next level and completely customise how the Studio looks and works. The following examples are only a small selection from a wide range of features that the Sanity Structure Builder API can offer.
Making Categories
I’ve added a few more type schemas to Shwick. We now have:
- Products
- Offers
- Clearance
- Store Settings
- Orders

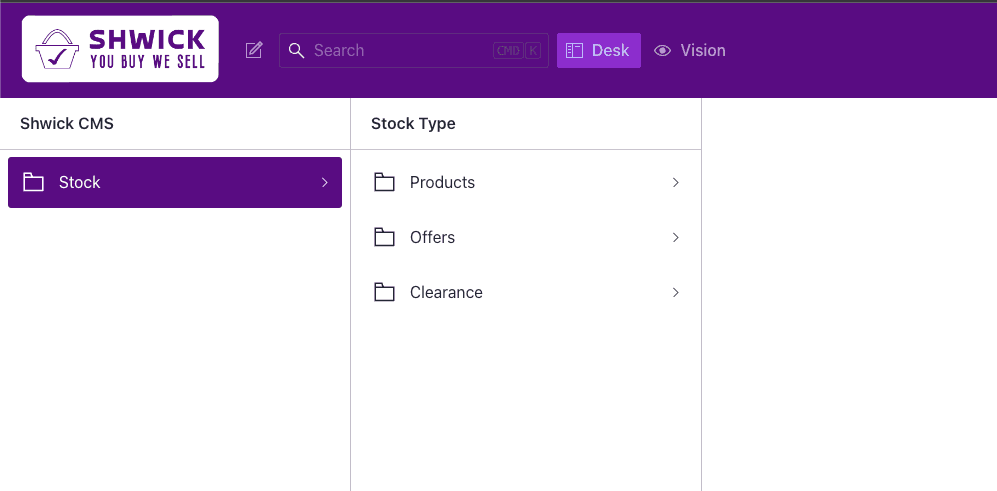
Currently, they all appear on a single pane in Sanity Studio, but it would be a much better idea to separate them into categories.
Let’s start by putting Orders, Offers and Clearance into a "Stock" Category.
To get started, create a file in your project root and call it “deskStructure.js” then add the part to your sanity.json config.
Now, in the deskStructure.js start building your very own desk structure.
For a full reference of the available properties and methods see the Sanity Structure Builder API Reference Docs here.
The below code will show as a single category with 3 document types inside it.
First, I’ve created an S.list() and then nested a title and items method beneath.
Inside the items method is an array of more methods. The first contains another list with the nested title "Stock" and another items array, this time containing 3 entries that correspond to document types in Shwick’s schemas.
The .child(S.documentTypeList("products")) method will show all entries for that document type and allow the creation and editing of them.
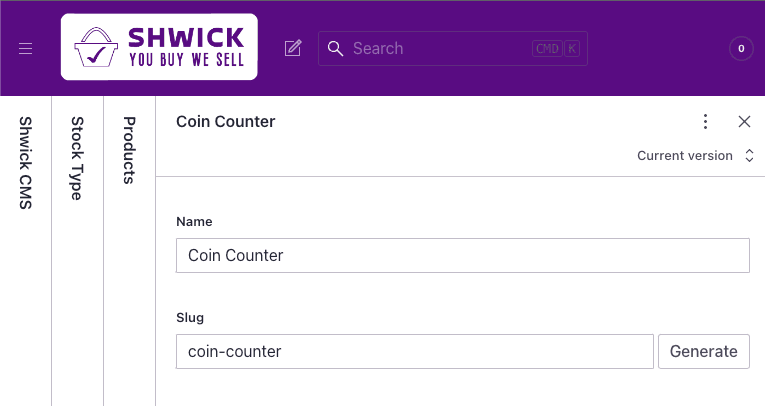
As you can see above, we’ve successfully created through the newly set up structure and can access existing and create new products. Before moving on, I added one more category called “Admin” as you can see below. Make sure to pay attention to the indentation of your methods, as if it is not correct, things will not function as intended.
And the result…

Creating a Type with only a single document
Now that the basic structure is set up, it would be good to have a store settings section that is fixed with only one document to help control the system.
With the storeSettings schema already created we can do this in two simple steps.
First, I’ll add it to the existing deskStructure.js this time. Instead of using S.documentTypeList, I’ll use S.document to create a new document and then nest.
This will create and show just a single document from the selected schema.
Finished code below:
One more step is to edit the storeSettings schema and add the __experimental_actions: ["update", "publish"], line to prevent deletion of the document.
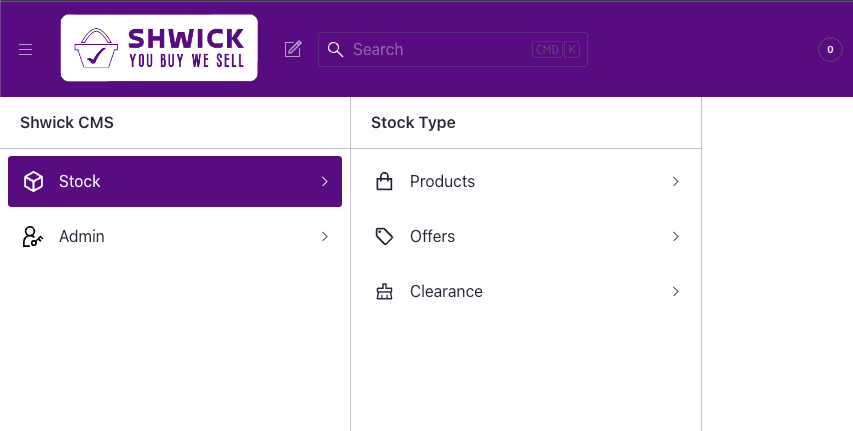
Changing Icons in Sanity Desk Structure
The Shwick CMS is looking great, but the stock icons for the listed items are all the same and don’t help you find what you're looking for.

We can fix this by using custom icons. A library I recommend is React Icons.
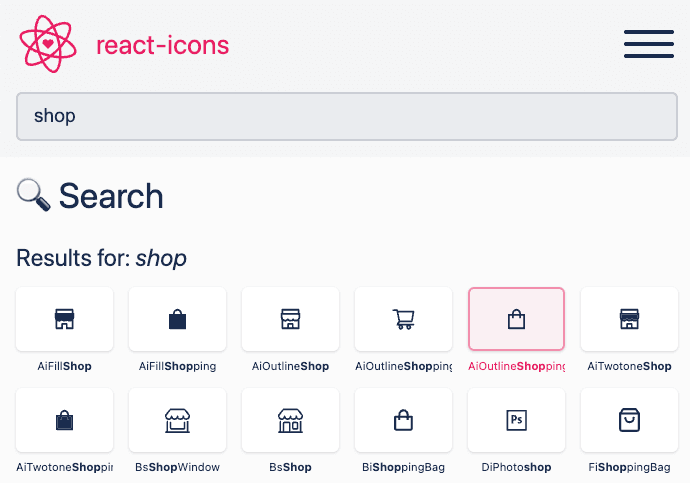
Install react-icons in your Sanity project, search for and import your chosen icons into your desk structure file, then inside your listItem methods, add an object {icon: exampleImportedIcon}
After picking some for Shwick here is the end result!
I hope these basic tips will get you started with Sanity Studio! Thanks for reading.
Here at Gravitywell, we work with startups and scaleups to build innovative, sustainable tech businesses. If you’re interested in working with us, get in touch.